How to Brew Coffee When You're Brewing Indoors but Your Kitchen Is Genuinely Cold
Cold kitchen temperatures slow extraction in ways that mimic under-extraction, and one targeted adjustment brings your cup back without changing your recipe.
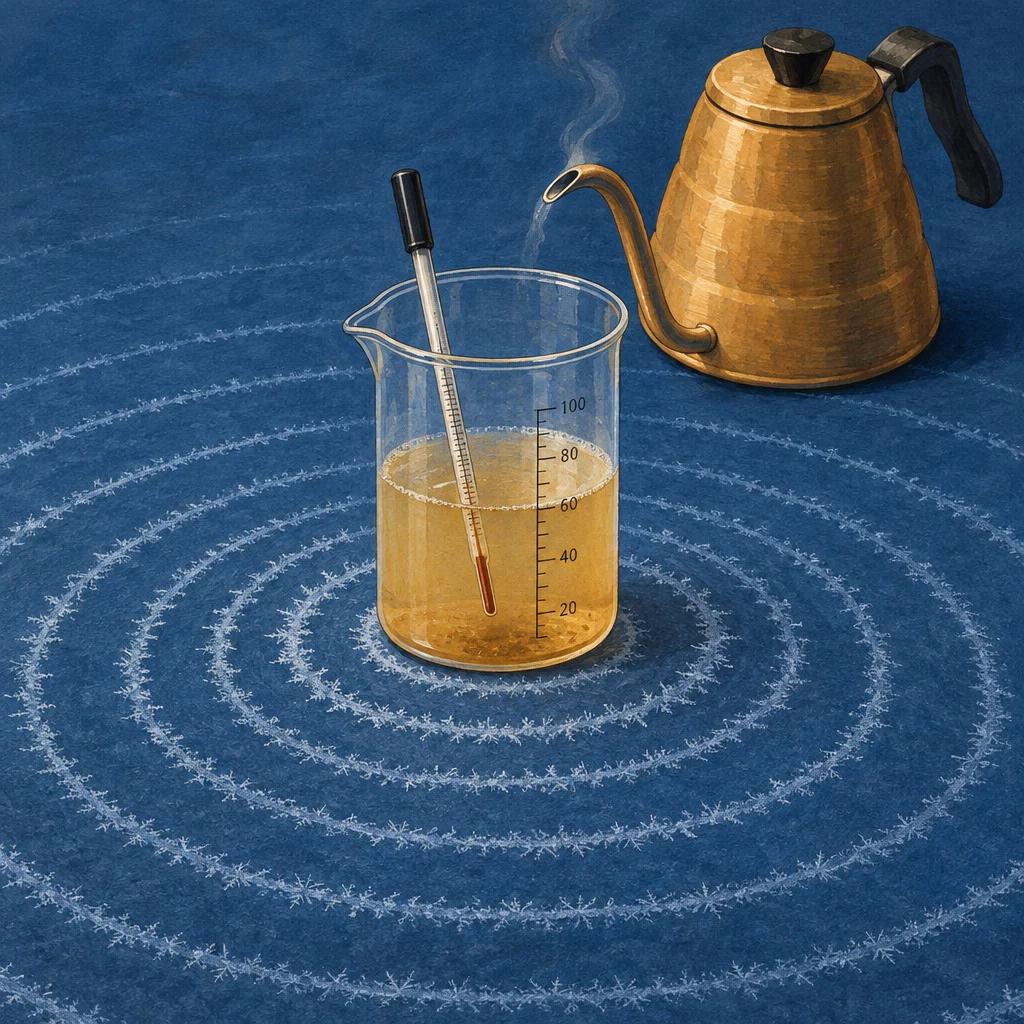
Most brew guides assume you're standing in a warm, stable kitchen. They're written that way because it's easier, and most of the time it's close enough to true. But if you brew in the morning before the heat kicks on, live somewhere with cold winters and drafty rooms, or just keep your thermostat low, your kitchen temperature is quietly working against every recipe you follow.
This isn't a dramatic problem, but it is a real one. And once you understand what's happening, the fix is simple.
Why cold air matters more than it seems
Extraction happens when hot water dissolves the soluble compounds in your ground coffee. The temperature of that water at the moment it hits the grounds is what drives that process. When your kitchen is cold, several things slow extraction down before the water even touches the coffee.
Your brewer cools faster. Your kettle loses heat on the way from the burner to the pour. Your cup, carafe, or server pulls heat out of the brew as soon as it drips in. Your grounds themselves are colder, which means the water has to work harder to bring them up to extraction temperature. All of these effects are small individually. Together, they add up to a cup that tastes thin, sharp, and a little hollow, which is the classic signature of under-extraction.
The frustrating part is that nothing looks wrong. Your grind looks the same. Your ratio looks the same. Your recipe hasn't changed. But the cup is flat, and you're not sure why.
The one adjustment that does most of the work
Brewing water temperature is the variable most directly affected by a cold environment, and it's also the one you can control most precisely. If you have a variable-temperature kettle, try raising your target temperature by three to five degrees. If you typically brew at 200 degrees Fahrenheit, try 203 or 205. That small shift compensates for the heat loss your water experiences between the kettle and the grounds.
If you don't have a variable-temperature kettle and you're boiling water and letting it cool slightly before pouring, simply shorten or skip that resting period on cold mornings. Instead of waiting 30 seconds off the boil, pour almost immediately. You're not going to scorch the coffee. Coffee is more forgiving of slightly higher temperatures than most guides suggest, and in a cold kitchen, the brew is losing heat so quickly that a little extra going in gets absorbed fast.
This one change solves the problem in most situations.
Warming your gear is a genuine help, not a ritual
Some brewing habits get called rituals in a slightly dismissive way, as if they're more about feeling fancy than producing results. Pre-warming your brewer is not one of those. In a cold kitchen, it actually does something.
Before you brew, run a small amount of hot water through your brewer or into your pour-over dripper and let it sit for 30 seconds. Pour it out, then brew normally. This brings the vessel closer to brewing temperature so it isn't immediately pulling heat away from your extraction. On a warm summer morning, this step makes a small difference. On a cold morning in a 60-degree kitchen, it makes a more noticeable one.
Same idea applies to your cup or carafe. If it's been sitting on a cold counter overnight, a quick rinse with hot water before brewing takes the chill off. You're not protecting some precious ideal. You're just keeping the heat where it belongs long enough for the coffee to extract properly.
A note on grind size in cold conditions
Raising water temperature is the primary lever. But if you've done that and the cup is still tasting a little thin or sharp, a very small grind adjustment can help. Going slightly finer increases the surface area of your grounds exposed to water, which speeds extraction slightly. This can compensate for heat loss that happens even when you've already raised your starting temperature.
The key word is slightly. If you go too fine, you'll introduce bitterness on top of everything else. Think of it as a secondary tool, not the main fix. Try the temperature adjustment first and only add a small grind change if something still seems off after that.
How to tell if cold is actually your problem
If you're not sure whether kitchen temperature is affecting your brew, here's a useful check. Brew two cups of the same coffee on the same day, one in the morning when your kitchen is at its coldest and one in the afternoon after the room has warmed up. Use identical settings for both. If the afternoon cup tastes noticeably better, richer, or more balanced, temperature is a real factor in your morning brew.
This isn't a controlled experiment, and other variables can creep in, but for most home brewers it's a clear enough signal. If the two cups taste the same, your kitchen temperature probably isn't the culprit and you can look elsewhere.
One thing that won't help much
Grinding fresh is always a good idea, but it won't solve a temperature problem. Neither will adjusting your ratio by small amounts. These are good general habits, but they address different things. The coldness of your environment is specifically a heat-loss problem, and the fix needs to target heat directly, either at the source (your brewing water) or at the vessel (pre-warming).
The practical version of all of this
On cold mornings, brew hotter than your recipe says, by about three to five degrees if you can control it precisely, or by shortening your off-boil resting time if you can't. Warm your brewer and cup with a quick hot water rinse before you start. If the cup is still a little flat after that, go just slightly finer on your grind. Three small adjustments, any one of which will probably be enough on its own.
Your recipe isn't wrong. Your beans aren't stale. Your grinder didn't change overnight. Sometimes the kitchen is just cold, and coffee brewed in a cold room needs a little more heat to taste the way it should.