How to Brew Coffee When You're Grinding Correctly but Your Water Temperature Keeps Dropping Before It Hits the Grounds
A kettle that reads the right temperature at the spout can still deliver water too cool to extract well, and two habits close that gap reliably.
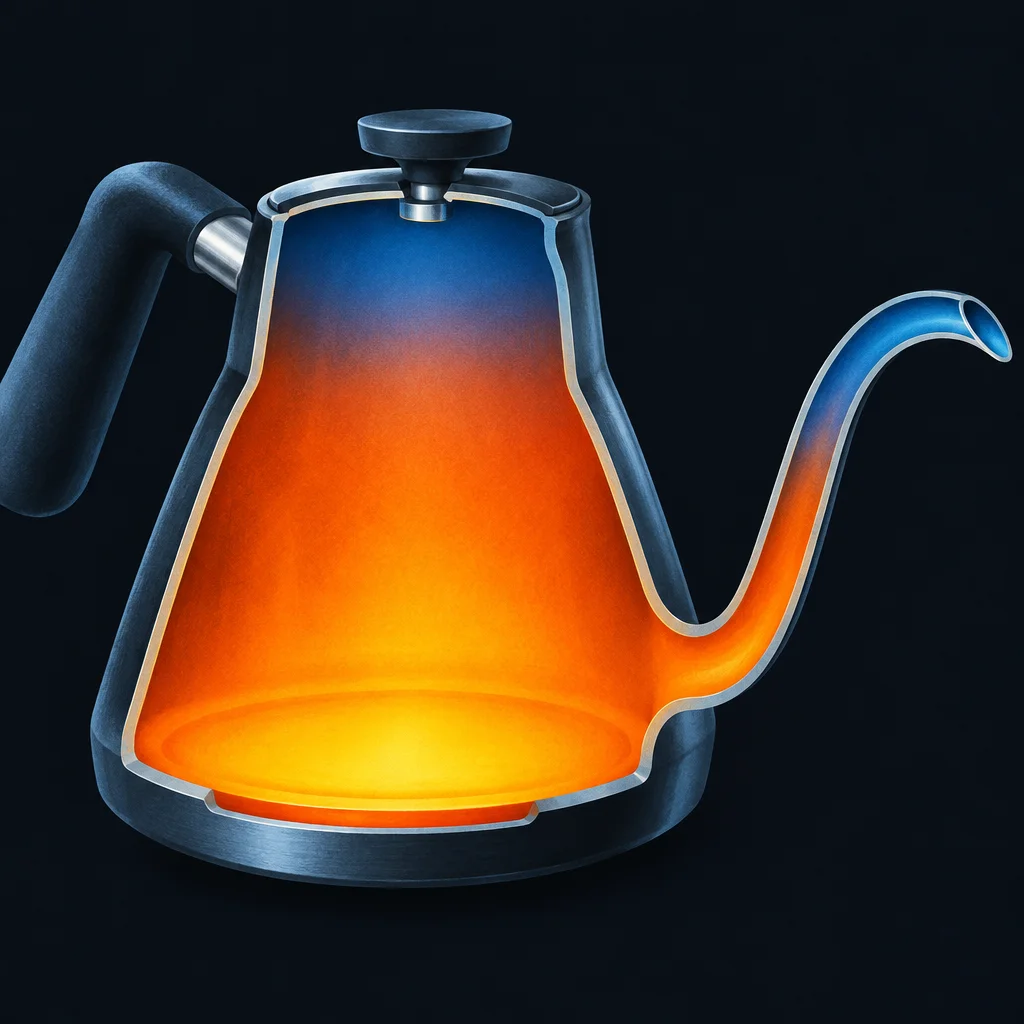
If you've ever dialed in your grind, measured your dose carefully, and still ended up with a cup that tastes flat, sour, or just vaguely disappointing, your kettle temperature might be doing something you haven't noticed yet. The number on your thermometer or display is real. The temperature actually landing on your grounds may not match it.
This is a quiet and common problem. It doesn't announce itself the way a bad grind does. The cup just never quite gets there.
What Actually Happens Between Kettle and Grounds
Water loses heat fast once it leaves a heat source, and several things in a typical home brewing setup accelerate that loss without anyone planning for it.
If you're pouring into a cold brewer, the vessel itself absorbs a portion of that heat immediately. A glass pour-over carafe, a ceramic dripper, a stainless steel server sitting on the counter, all of them pull warmth away from your water during the first pour. If you're pouring from a standard kettle rather than a gooseneck, the arc of water through the air loses heat before it even reaches the bed. And if there's a gap between when your water hits your target temperature and when you actually start pouring, it may have already drifted a few degrees in the wrong direction.
None of these things feels catastrophic. Together, they can easily drop your brew temperature by five to ten degrees, which is enough to change how coffee extracts in a noticeable way.
Why Temperature Drop Matters More Than Most People Expect
Extraction happens across a range, and temperature is one of the levers that controls how quickly and completely it happens. When water is too cool, coffee tends to under-extract. That means you're pulling the acidic, bright compounds out of the grounds without getting to the sweetness and body that balance them. The cup reads as sour or thin even when everything else looks right on paper.
A drop from 200 degrees Fahrenheit to 190 degrees might not sound dramatic, but for a light roast especially, that range can be the difference between a cup that tastes lively and one that tastes like weak tea. Medium roasts are a little more forgiving, but they still respond to temperature in ways you'll notice.
The key insight is that your recipe assumes a certain temperature at the point of contact with the grounds, not at the spout. If your setup creates a gap between those two things, your recipe is effectively miscalibrated.
Two Habits That Close the Gap
Preheat everything the water will touch. This is the simplest and most effective adjustment. Before you brew, pour hot water through your dripper, into your server or carafe, and let it sit for thirty seconds to a minute. Then dump it out. This brings those surfaces up to temperature so they stop stealing heat from your brew water during the pour.
If you use a gooseneck kettle with a temperature hold feature, you get the benefit of the vessel staying warm through the whole brew. If you don't have that feature, preheating your brewer and server becomes even more important because your water temperature will naturally drift as you pour.
Some brewers find it helpful to preheat the kettle itself with a quick rinse of boiling water before filling it for the actual brew. This matters more with thinner stainless kettles that cool quickly. It may seem like a small thing, but if your kettle walls are cold when you fill it, they're pulling heat from your water before it even reaches the spout.
Heat your water slightly higher than your target, with intention. If your recipe calls for 200 degrees and your setup reliably loses five degrees in transit, consider heating to 203 or 205 and treating that as your compensation for the variables in between. This requires a bit of trial and error specific to your gear and your environment, but once you find the number that reliably produces a good cup, it becomes automatic.
To figure out your personal gap, you can use a simple test. Heat your water to exactly your target temperature, then pour it into your preheated dripper over a cup and check the temperature immediately inside the dripper before the grounds go in. The difference between what you aimed for and what you're seeing is your starting point. That gap is what you're adjusting for.
A Few Things Worth Knowing About Your Specific Setup
Ceramic drippers tend to hold preheat well once they're warm. Glass and thin plastic lose it faster. If your dripper is on the lighter, thinner side, give it a full minute of preheat rather than a quick rinse.
If you're in a colder home or brewing in a room with a draft, ambient temperature also plays a role. A cup sitting in a 60-degree kitchen is working against you in a way that a 72-degree kitchen isn't. This doesn't mean you need to change your whole setup, but it might mean bumping your target up a couple of degrees in winter and backing off slightly in summer.
Slow pours also lose more heat than faster ones, which can matter on longer brews. If you're doing a long, slow pour-over, your later pours are starting from whatever temperature the kettle has drifted to by that point. Keeping your kettle on a low burner or using a kettle with a hold function helps here, but if neither is available, pouring a little more decisively toward the end of the brew can partially compensate.
The Practical Takeaway
You don't need new equipment to fix this. Preheating your brewer and server costs nothing and takes less than two minutes. Adjusting your target temperature upward by a few degrees to account for your specific setup is free and reversible. Together, they give your recipe a much better chance of actually working the way it was designed to.
The goal isn't perfection. It's closing the gap between what your recipe expects and what your water is actually doing by the time it matters. Once you've made these two adjustments a habit, you'll find your cup is more consistent, and the variables you've already dialed in will start doing what you intended them to do.