How to Brew Coffee When You're Grinding the Right Size but Your Dose Keeps Clumping Before It Hits the Water
Ground coffee that clumps together before brewing extracts unevenly, and two inexpensive habits break up those clusters before they cause problems.
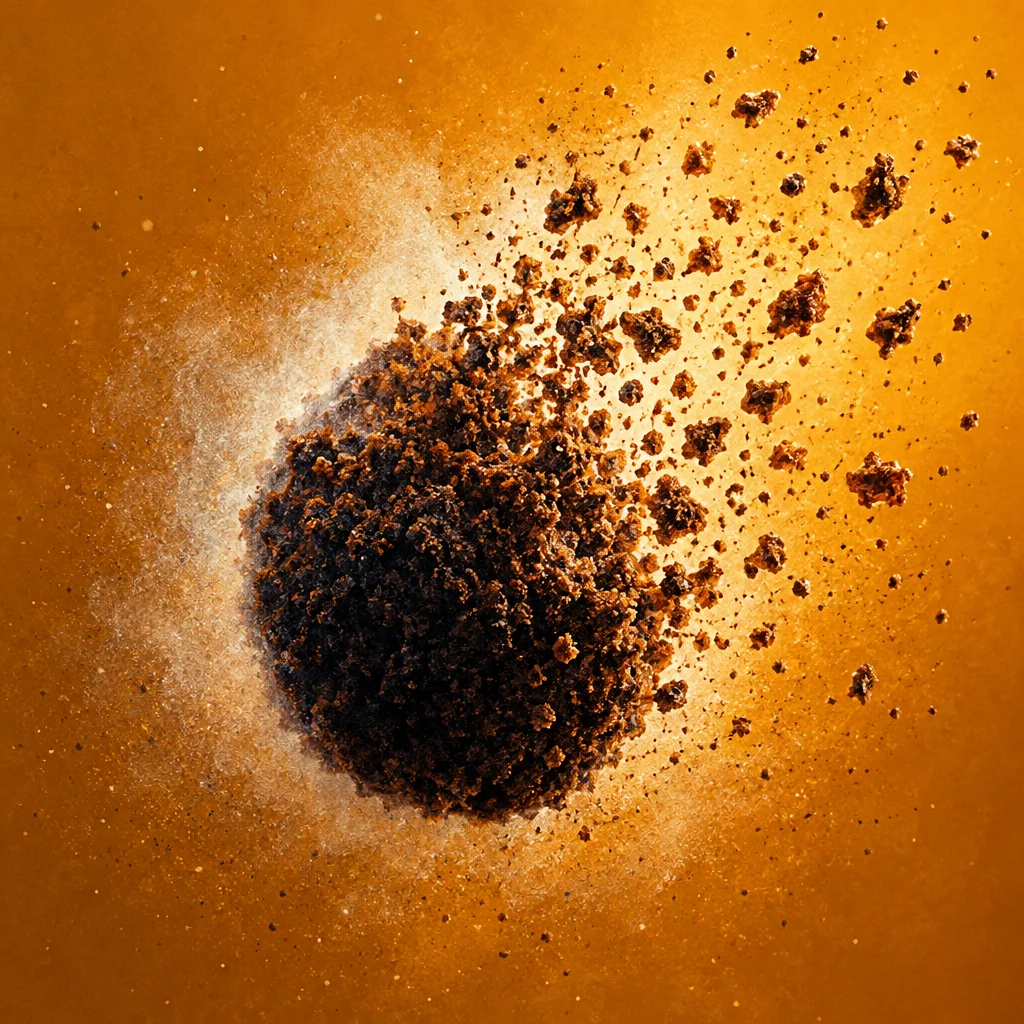
You dial in your grind size. You weigh your dose carefully. You do everything the same way every morning. And yet the cup still has a muddy, uneven quality that does not match what you expect. One common culprit that gets almost no attention: your ground coffee is clumping together before water ever touches it, and those little clusters are quietly wrecking your extraction.
This is not a sign that something is broken. It is a normal result of how dry particles behave, especially when static electricity gets involved. Once you understand what is happening, the fix is simple and costs almost nothing.
Why Ground Coffee Clumps
When coffee beans are ground, each particle picks up a small electrostatic charge from the friction inside the burrs. These charged particles are attracted to each other and to the sides of your grinder's chute, grounds bin, or portafilter. The result is clumps, which are essentially groups of particles stuck together in a mass that behaves more like a single large chunk than a collection of separate fine particles.
Humidity makes this worse or better depending on how much there is. Very dry air increases static. Very humid air can cause a different kind of clumping where moisture itself causes particles to stick. The sweet spot is moderate humidity, which most home kitchens do not reliably hit year-round.
Roast level also matters. Lighter roasts tend to be denser and produce particles that stay more separate. Darker roasts are more brittle and generate a higher proportion of very fine particles, which clump more aggressively.
Whatever the cause, the practical problem is the same: when clumped grounds hit water, the water finds the path of least resistance. It flows around and through the loose, airy spaces between clumps rather than saturating each particle evenly. Parts of your dose over-extract while others under-extract. The cup tastes muddled, sometimes simultaneously bitter and flat.
The Two Habits That Fix It
The first habit is stirring or breaking up the grounds before they go into your brewer.
This sounds almost too simple, but it works reliably. After grinding into your vessel, take a small spoon, a chopstick, or even a toothpick and give the grounds a gentle stir before brewing. You are not aerating them or doing anything complicated. You are just physically separating any clusters so that each particle is loose and independent.
For pour-over brewing, you can do this right in the filter before your first pour. For French press, stir the grounds in the carafe before adding water. For an AeroPress, stir them in the chamber.
If you prefer something purpose-built, a thin-pronged tool sometimes called a WDT tool (distribution tool) is designed exactly for this. But a chopstick works just as well for home use. Do not let the existence of a specialty tool convince you that the solution is complicated.
The second habit is adding a tiny amount of water to your beans before you grind them.
This technique is sometimes called the Ross Droplet Technique, named after the person who popularized it among home brewers. The idea is simple: before you grind your beans, add a very small amount of water to them, maybe three to five drops for a typical home dose, and give them a quick stir or shake to coat the beans lightly. Then grind immediately.
The trace moisture reduces the static charge that builds up during grinding. The result is grounds that fall cleanly from the chute, clump far less, and distribute more evenly on their own. You are not making the beans wet in any meaningful sense. Three to five drops disappears into a dose of fifteen or twenty grams without any perceptible effect on the grounds themselves.
Try this on a day when clumping is noticeably bad and compare the grind output to your usual result. The difference in how cleanly the grounds fall is usually obvious.
A Note on Grinder Chutes and Static
Some grinders have longer plastic chutes between the burrs and the collection point, and plastic holds static charge more readily than metal or ceramic. If your grinder seems to spray grounds against the sides of its bin or your portafilter wall, that static is part of the picture.
You cannot change the chute material, but you can manage the downstream effect. Grinding into a room-temperature metal vessel rather than a plastic one can reduce how much additional charge builds up after the grounds leave the burrs. This is a smaller adjustment than the two habits above, but it is worth knowing if your setup allows it.
How to Know If Clumping Is Actually Your Problem
Before you change anything, take thirty seconds to look at your grounds after you grind. Pick up your vessel and tilt it slightly. Do the grounds move like loose, dry sand, shifting fluidly? Or do sections of them hold together and slide as a mass, like wet flour?
If you see the latter, clumping is likely affecting your extraction. If the grounds look loose and even already, look elsewhere for what is off in your cup.
A second check: after your brew, look at the used grounds. In a pour-over or AeroPress, uneven grounds often leave visible pockets where water channeled through, marked by a crater or uneven surface on the spent puck. Evenly extracted grounds leave a relatively flat, uniform bed.
Putting It Together
The practical routine is short. Before you grind, add a few drops of water to your beans and give them a shake. Grind as usual. After grinding, stir the grounds briefly with whatever thin tool you have before they go into your brewer. That is it.
Neither step adds more than fifteen seconds to your morning. And if clumping has been the hidden variable in an otherwise careful recipe, those fifteen seconds will produce a noticeably more even, cleaner cup without changing your grind size, your ratio, your temperature, or anything else you have already worked to dial in.