How to Brew Coffee When You're Heating Your Water With No Thermometer
Water temperature affects extraction more than most home brewers expect, and two visual cues from your kettle get you close enough to matter.
Most brew guides tell you to heat water to somewhere between 195 and 205 degrees Fahrenheit, then move on as if you obviously own a thermometer. A lot of home brewers don't. And even some who do own one leave it in a drawer because pulling it out every morning feels like more effort than coffee should require.
The good news is that you can get water temperature right without any measuring tool, once you understand what you're actually looking for and why the temperature matters in the first place.
Why Temperature Matters at All
Water that's too cool extracts coffee slowly and incompletely. The result tastes thin, flat, and sometimes sour in a weak, washed-out way rather than a bright, pleasant way. Water that's too hot extracts too aggressively and pulls bitter compounds that would have stayed behind at a lower temperature.
The target range of 195 to 205 degrees Fahrenheit isn't arbitrary. It's where water is hot enough to move through the coffee grounds efficiently but not so hot that it scorches or over-extracts. Boiling point at sea level is 212 degrees, so the target range sits just below that, close enough that you can work backward from a full boil with confidence.
The Core Principle: Controlled Cooling
If you can bring water to a full boil, you already have water at approximately 212 degrees at sea level (slightly lower at higher elevations). The question is just how long to let it cool before it's in the right zone.
A standard stovetop kettle or electric kettle full of water loses roughly 1 to 2 degrees per minute once it comes off heat, depending on the kettle material, the ambient temperature of your kitchen, and whether there's a lid on. That's a wide range, but it gives you a workable starting point.
For a practical suggestion: after your kettle reaches a full boil, remove it from heat and wait 30 to 45 seconds before brewing. That gets most setups close to the top of the target range, around 200 to 205 degrees. If you've noticed that your cups tend to taste bitter, wait closer to 60 seconds. If they tend to taste flat or thin, wait closer to 20 seconds or skip the wait entirely.
This is a starting suggestion, not a guaranteed formula. Your kettle, your elevation, and your kitchen will all shift the timing slightly. The point is to use these as a starting range and then adjust based on how the cup tastes.
Visual Cues That Actually Help
If you watch water as it heats, it gives you real information before and after boiling.
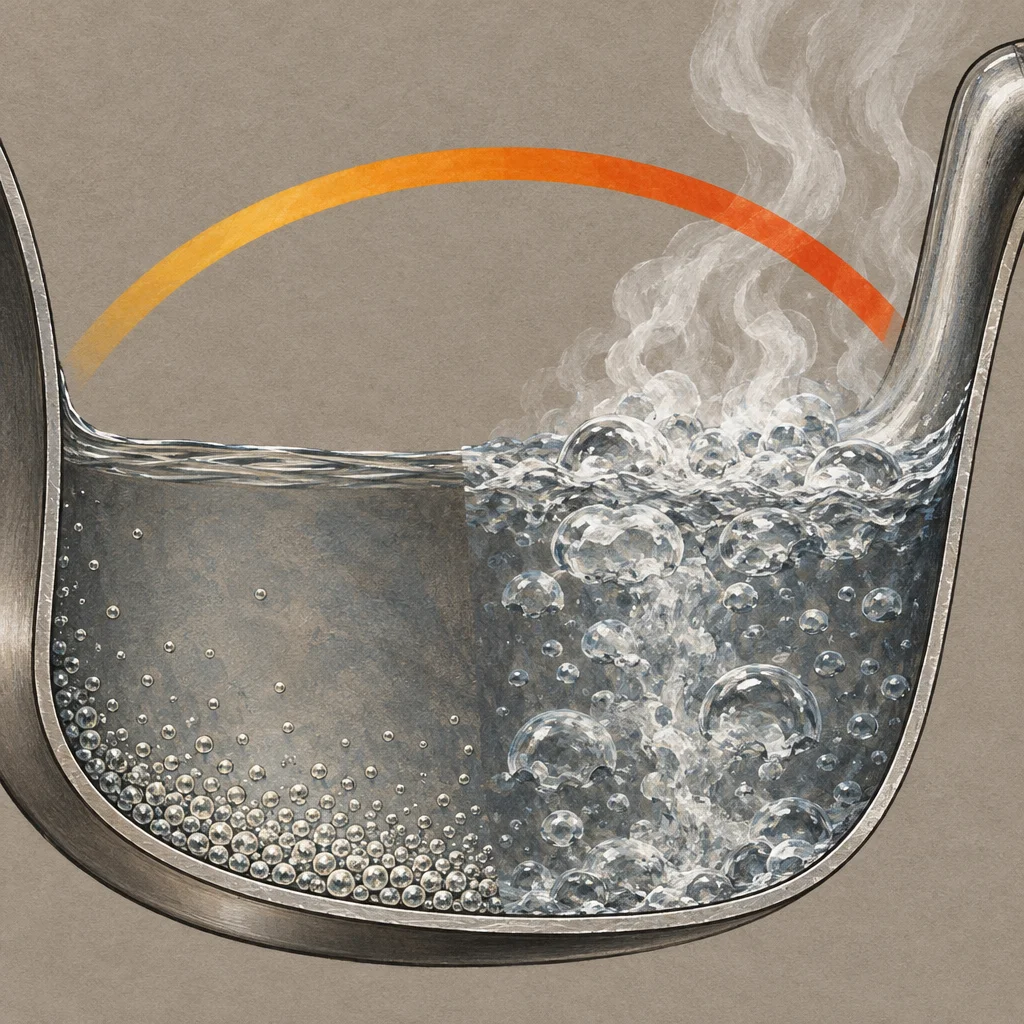
Small bubbles forming on the bottom of a clear or glass kettle typically appear around 160 to 170 degrees. The water is hot but not close to ready yet for most brew methods.
When the bubbles become continuous streams rising to the surface, you're usually somewhere in the 185 to 195 degree range. This stage is sometimes called a simmer. It's getting close.
A full rolling boil, where the surface is actively churning and steam is consistent, is your signal that you've hit boiling point. From here, the wait begins.
For stovetop kettles without a visible interior, you can often hear the difference. A low hiss or rattle is early heating. A louder, rushing sound that fills the room is close to boiling. A sudden quiet after that rushing sound often means the water has just reached a full boil on an electric stove where the burner has cut off, or that a stovetop kettle's whistle is about to sound.
None of these cues are precise, but they orient you correctly. You won't accidentally brew with 140-degree water if you're paying attention.
A Simple Adjustment Loop
Here's a practical way to dial this in over a few mornings without a thermometer.
Start with the 30 to 45 second wait after a full boil. Brew your coffee as usual. Taste it and ask one question: does it taste bitter and harsh, or does it taste thin and weak? You're looking for which direction you're off, not a precise diagnosis.
If it's bitter, add 15 seconds to your wait next time. If it's thin, subtract 10 seconds. If it tastes good, write down what you did, because that timing is your personal baseline for that kettle in that kitchen.
This loop only takes two or three mornings to settle into something consistent. You're not trying to nail a temperature number, you're trying to find the wait time that produces a cup you like, and then repeat it.
One Situation Worth Knowing About
If you're brewing with a very lightly roasted coffee, the kind that's dense and takes more energy to extract, you may find that even a minimal wait after boiling leaves the cup tasting underwhelming. Light roasts often do better at the higher end of the temperature range. In that case, cutting your wait to 10 to 15 seconds, or skipping it entirely, is worth trying before you assume something else is wrong.
Conversely, if you're using a dark roast that already leans bitter even on a good day, a slightly longer wait of 60 to 75 seconds can soften that edge.
The Thermometer Question
If you brew daily and want to remove one more variable from your routine, a basic instant-read kitchen thermometer runs a few dollars and works for coffee water exactly as well as it works for anything else in your kitchen. It's not a requirement, and plenty of good cups get made without one. But if you find yourself going through the adjustment loop again every time you switch coffee bags, having one removes the guesswork permanently.
Until then, a full boil plus a short, consistent wait gets you into the right zone for most brew methods and most coffees. That's not a compromise. It's just a different path to the same result.