How to Brew Coffee When You're Switching from Drip to Pour-Over for the First Time
Moving from an automatic drip machine to a manual pour-over changes which variables you now control, and knowing three of them makes the transition straightforward.
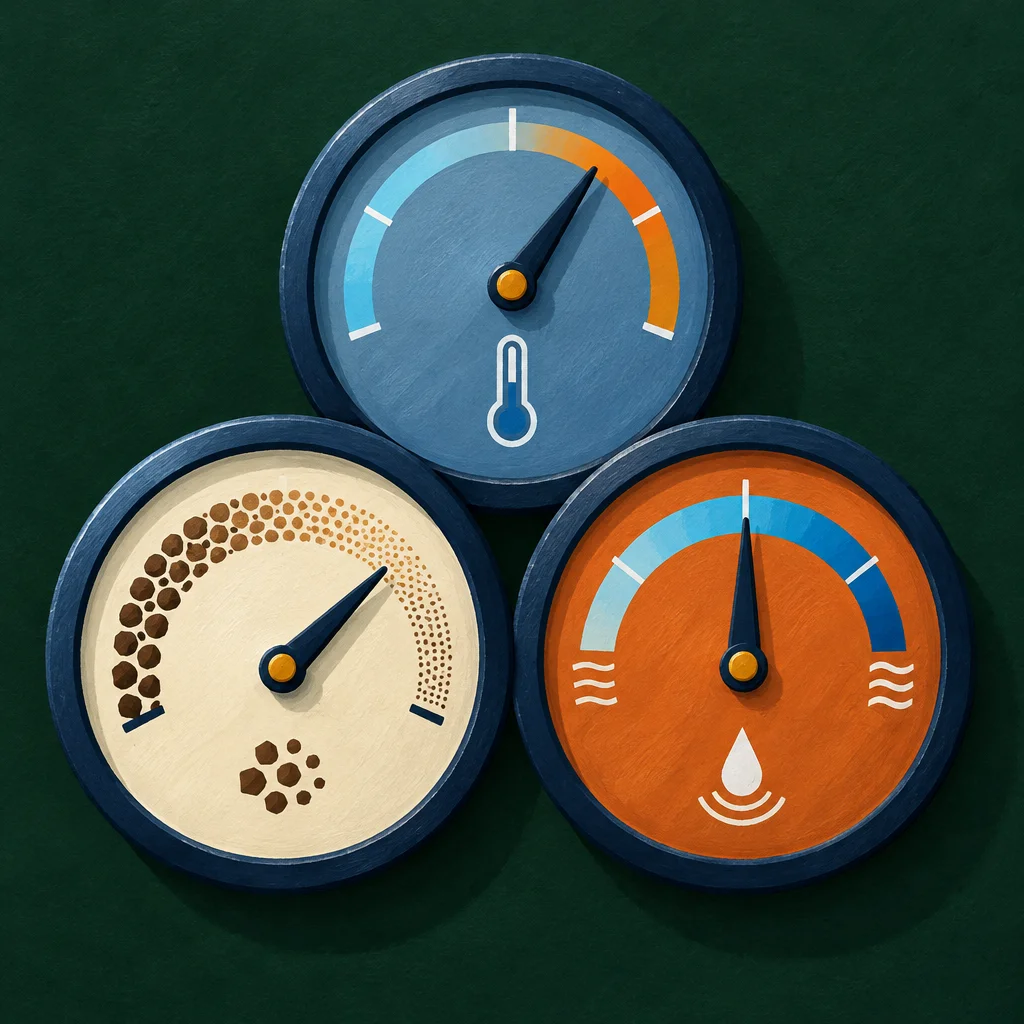
If you've been making coffee with an automatic drip machine and you're curious about pour-over, the first thing worth knowing is that you haven't been doing anything wrong. Drip machines are genuinely good. The shift to pour-over isn't an upgrade in the way that a faster computer is an upgrade. It's more like switching from cruise control to driving yourself. You get more say in what happens, which means the cup can get better, but it also means you're the one holding the wheel.
Here's what actually changes, and what to do about it.
Your grinder matters more now
Drip machines are fairly forgiving of uneven grind particle size because the water moves through the grounds slowly and on its own schedule. Pour-over puts you in charge of the pour, which means uneven grounds show up more clearly in the cup. If you already own a burr grinder, you're well positioned. If you've been using a blade grinder, this is the moment where that purchase starts to pay off. You don't need an expensive burr grinder to get a noticeably better result. Even a mid-range hand grinder gives you more consistent particle size than a blade grinder, and more consistent grounds means more even extraction.
For pour-over, you're generally aiming for a medium grind, somewhere in the range of coarse kosher salt or slightly finer. If your cup tastes weak and thin, grind a little finer. If it tastes harsh or bitter, go coarser. Those two adjustments will solve most first-attempt problems.
Water temperature is something you actually control now
Your drip machine heated water to whatever temperature it was set to at the factory. Pour-over means you're heating the water yourself, which is new information you have to do something with. The good news is that the target is simple: somewhere between about 195 and 205 degrees Fahrenheit works well for most light to medium roasted beans. If you don't have a thermometer, bringing water to a boil and letting it sit off the heat for 30 to 45 seconds gets you into that range in most home kitchens.
If your beans are darker roasted, slightly cooler water, closer to the lower end of that range, tends to soften the bitterness that dark roasts can produce. If your beans are lightly roasted and the cup tastes sour or underwhelming, staying closer to the higher end of that range helps draw out more of what's in there. These are starting suggestions, not strict rules. Your kitchen, your kettle, and your specific beans will tell you more over time.
The pour itself is the new variable
This is the part that surprises most people coming from drip. The speed, timing, and pattern of how you pour the water directly shapes your cup. A drip machine handles this automatically. Pour-over means you're doing it by hand, and it's worth understanding what you're trying to accomplish before you start.
Most pour-over methods begin with a bloom. You pour a small amount of water, roughly twice the weight of your grounds, over the coffee and let it sit for about 30 to 45 seconds. This lets the coffee release trapped gas, which is especially noticeable with fresher beans. Skipping the bloom doesn't ruin a cup, but including it generally produces a more even extraction.
After the bloom, you add the rest of your water in slow, circular pours, working from the center outward and back again. You're not trying to flood the grounds all at once. The goal is to keep the grounds evenly saturated as the water drains through. Pour too fast and the water channels through before it can extract properly. Pour too slow and you may over-extract, pulling bitter flavors from grounds that have already given up what you wanted.
A total brew time of around three to four minutes for most pour-over methods is a reasonable target. If your brew is draining much faster, grind finer or pour more slowly. If it's taking much longer, grind coarser or pour a little faster.
Your ratio stays the same
One thing that doesn't change between drip and pour-over is the basic coffee-to-water ratio. If you've been using roughly one gram of coffee per 15 to 17 grams of water, keep that. The ratio that tasted right to you before is a reasonable starting point now. If you've never measured and you've just been scooping, a standard starting suggestion is about 15 grams of coffee for every 250 milliliters of water, which is close to an eight-ounce cup.
If you don't own a scale yet, pour-over is a good reason to get one. It doesn't need to be expensive. A basic kitchen scale that measures in grams will change how consistently you can repeat a cup you liked.
What to expect from your first few attempts
The first pour-over you make probably won't be the best one you'll ever make. That's normal and worth saying plainly. You're learning where your particular kettle pours comfortably, how fast your specific dripper drains, and how your beans respond to this method. Two or three brews is usually enough to start making real adjustments.
If the first cup tastes sour and weak, grind a little finer and pour a little more slowly. If it tastes harsh and drying, grind coarser or try cooler water. Keep one variable constant and change one thing at a time. That approach gets you to a cup you like faster than changing everything at once.
Pour-over rewards attention more than it rewards gear. The people who get the most out of it are the ones who taste carefully and make small, deliberate changes. You already do that if you've been trying to improve your drip coffee. The same instinct applies here. You've just got more knobs to turn.